


Are you ready to take your product photos to the next level but don’t have professional editing skills or expensive software? You’re in the right place! In this easy-to-follow guide, we will show you how to edit product photos in Canva, a powerful and user-friendly design tool that’s perfect for beginners and seasoned professionals alike. Whether you’re an online business owner, a social media influencer, or someone looking to enhance your photos, Canva is the solution you’ve been looking for. Let’s dive into how to edit product photos in Canva and transform your images into eye-catching visuals that will impress your customers and followers.
Why Edit Product Photos in Canva?
Contents
- Why Edit Product Photos in Canva?
- Getting Started: Uploading Your Product Photo
- How to Edit Product Photos in Canva: Basic Edits
- How to Edit Product Photos in Canva: Advanced Edits
- How to Edit Product Photos in Canva: Final Touches
- Conclusion
- Frequently Asked Questions (FAQs)
- Can I edit product photos in Canva for free?
- How do I remove the background of my product photo in Canva?
- What file formats can I download my edited product photo in?
- Can I add my logo to product photos in Canva?
- How can I make my product photos look more professional in Canva?
- Is Canva suitable for product photography editing for an online store?
Before we start, let’s talk about why Canva is such a fantastic tool for editing product photos. Canva is an online graphic design platform that offers a wide range of templates, tools, and features designed to make the editing process simple and effective. It doesn’t require any advanced skills, making it ideal for those who may not have experience with complex photo-editing software like Photoshop. Canva allows you to easily enhance your product photos by adjusting colors, backgrounds, adding text, and so much more.
Whether you want to brighten up your photos, remove unwanted objects, or add your branding to the image, Canva has everything you need. Now, let’s explore how to edit product photos in Canva, step by step.

Getting Started: Uploading Your Product Photo
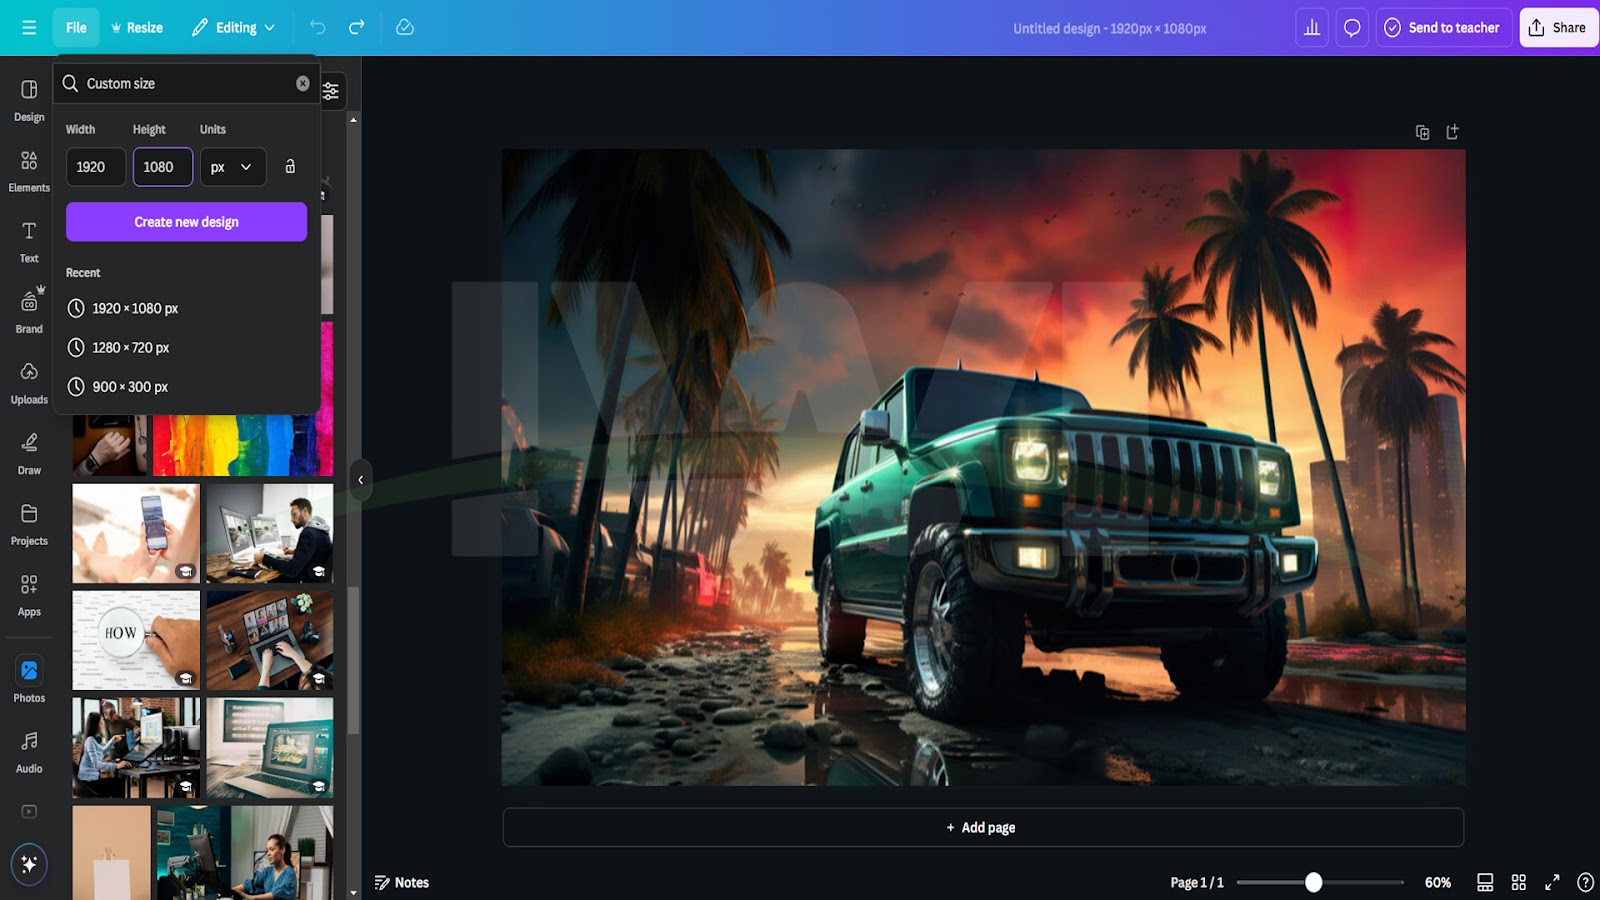
The first step in learning how to edit product photos in Canva is to upload the image you want to work on. Start by logging into your Canva account. If you don’t have one, creating a free account is quick and easy. Once you’re logged in, click the “Create a Design” button on the homepage.
Next, choose a custom dimension or template depending on the platform where you’ll use the image (like Instagram, Etsy, or a website). After that, go to the “Uploads” section in the left sidebar and click on the “Upload Media” button. From here, you can choose to upload your product photo from your computer or any other device.
Once your photo is uploaded, simply drag and drop it onto your design canvas. This is where the magic happens! Now you’re ready to start editing your product photo in Canva.
How to Edit Product Photos in Canva: Basic Edits

Adjusting Brightness and Contrast
The first thing you might want to do is adjust the brightness and contrast of your product photo. This is an essential step, especially if your photo appears too dark or too light. To adjust the brightness, click on the image, and a toolbar will appear at the top of your screen. Select “Adjust,” and a panel with sliders will pop up.
Use the sliders to tweak the brightness, contrast, saturation, and more. If the photo seems too dull, increase the brightness or adjust the contrast to make your product pop. Experiment with these settings to achieve the best visual effect.
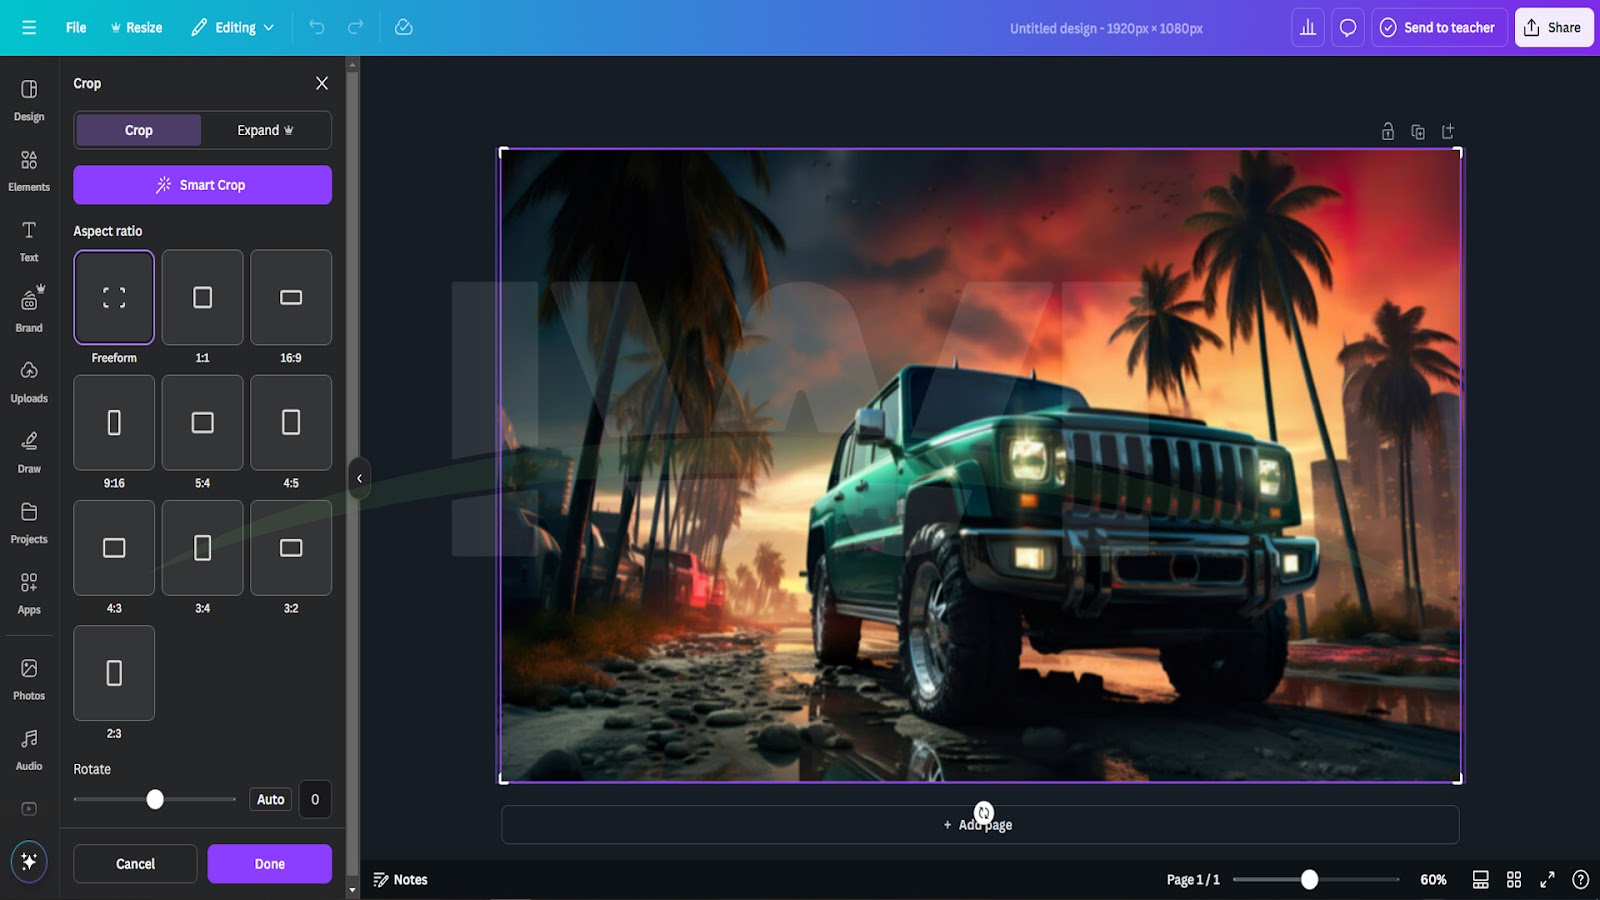
Cropping and Resizing
Sometimes, you may want to crop or resize your product photo to focus on a specific area or fit the aspect ratio of a particular platform. In Canva, cropping and resizing your photo is simple. Just click on your image and drag the corners to resize it. You can also crop your photo by clicking on the “Crop” button at the top and adjusting the frame to cut out any unnecessary parts of the image.
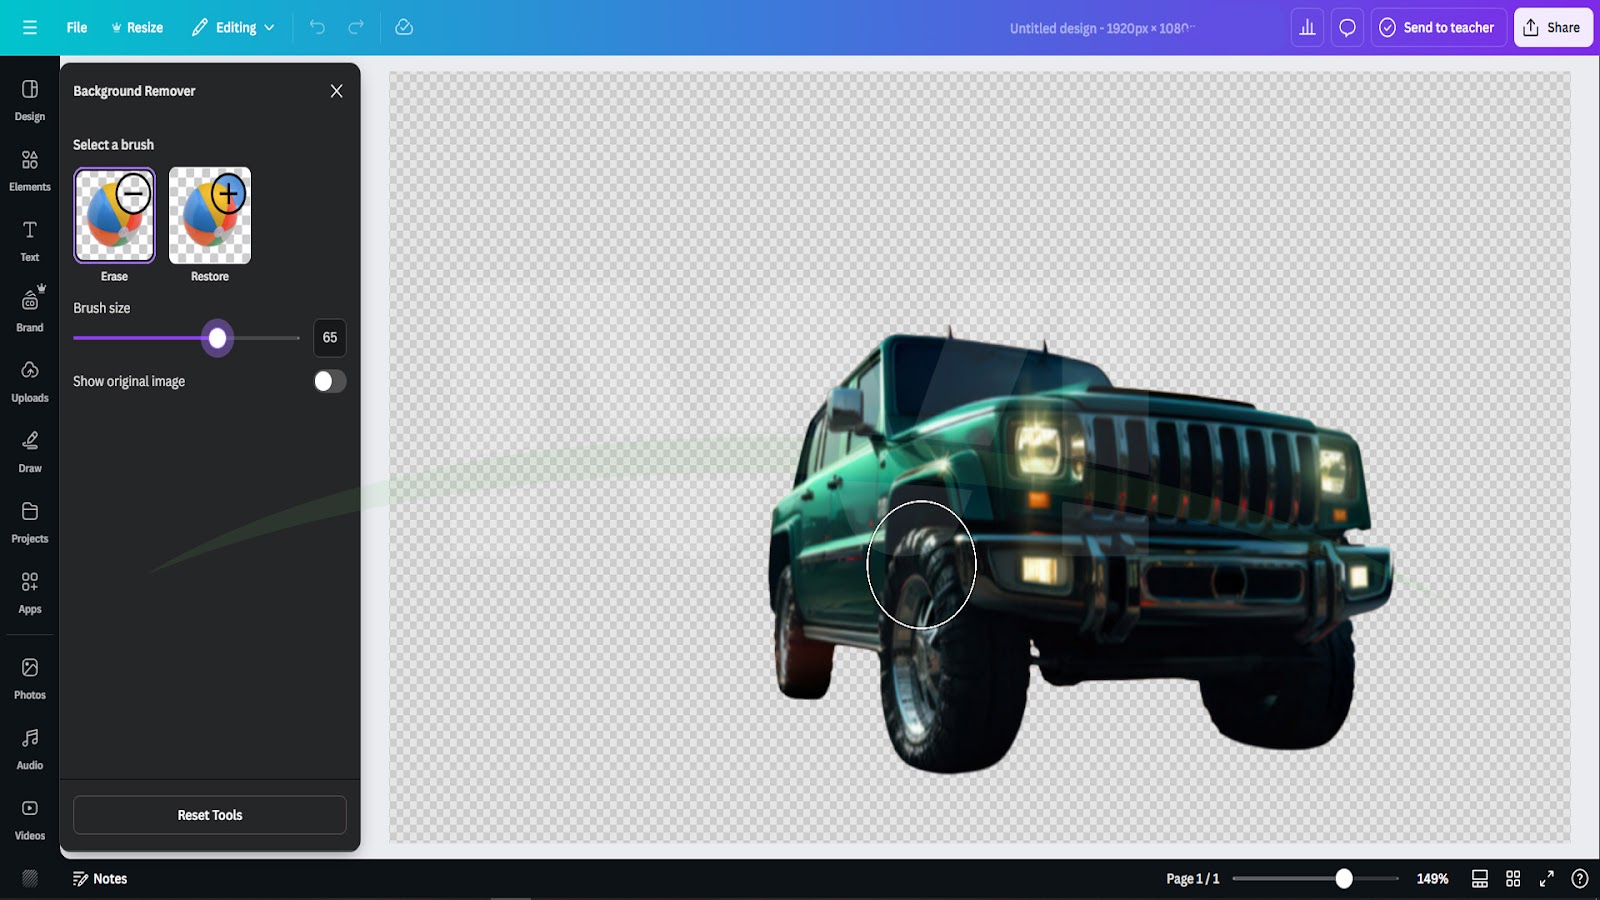
Removing the Background
A major feature of Canva that makes editing product photos easier is its Background Remover tool. This tool allows you to easily remove the background from your product photo and replace it with a clean, white, or transparent background. To use this feature, click on your photo, and in the top toolbar, select “Effects.” From there, click on the “Background Remover” button. Canva will automatically detect and remove the background, leaving you with just the product.
This feature is especially useful if you want to showcase your product on a clean, consistent background or if you’re working on a product catalog or online store.
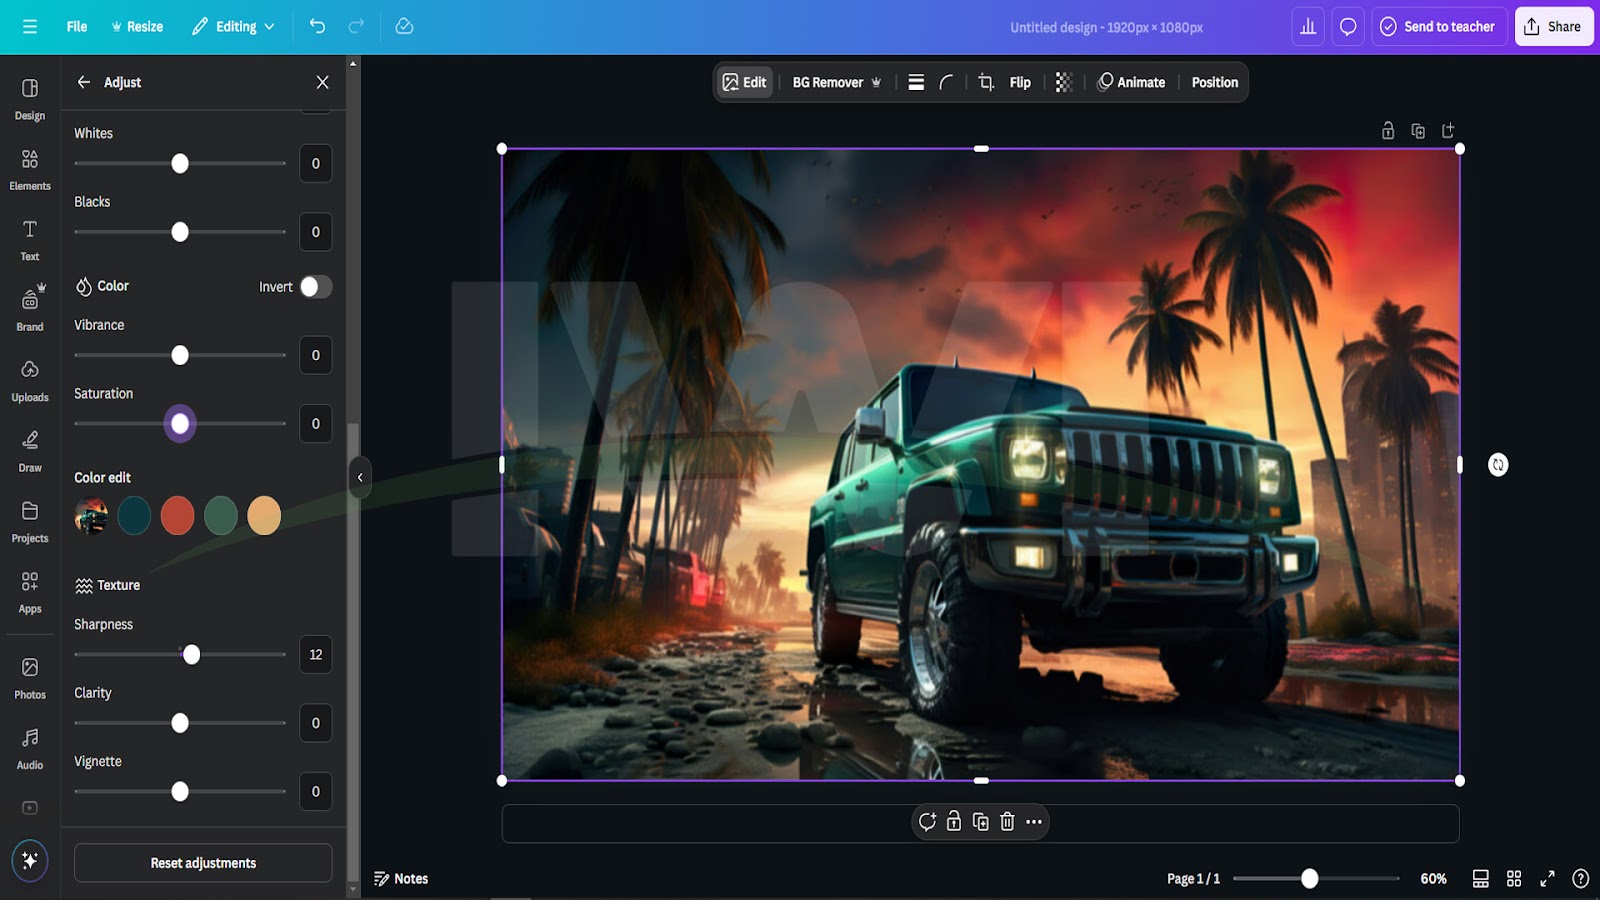
Enhancing Colors and Saturation
Another great way to make your product photos stand out is by adjusting the colors and saturation. Canva offers an easy way to enhance your photo’s colors to give it a more vibrant and appealing look. After selecting your image, click on the “Adjust” option and use the “Saturation” slider to boost or reduce the color intensity.
If your product photo looks too flat or washed out, increasing the saturation will bring the colors to life. Conversely, if your photo looks too vibrant or harsh, you can decrease the saturation to make the colors more subtle.
How to Edit Product Photos in Canva: Advanced Edits
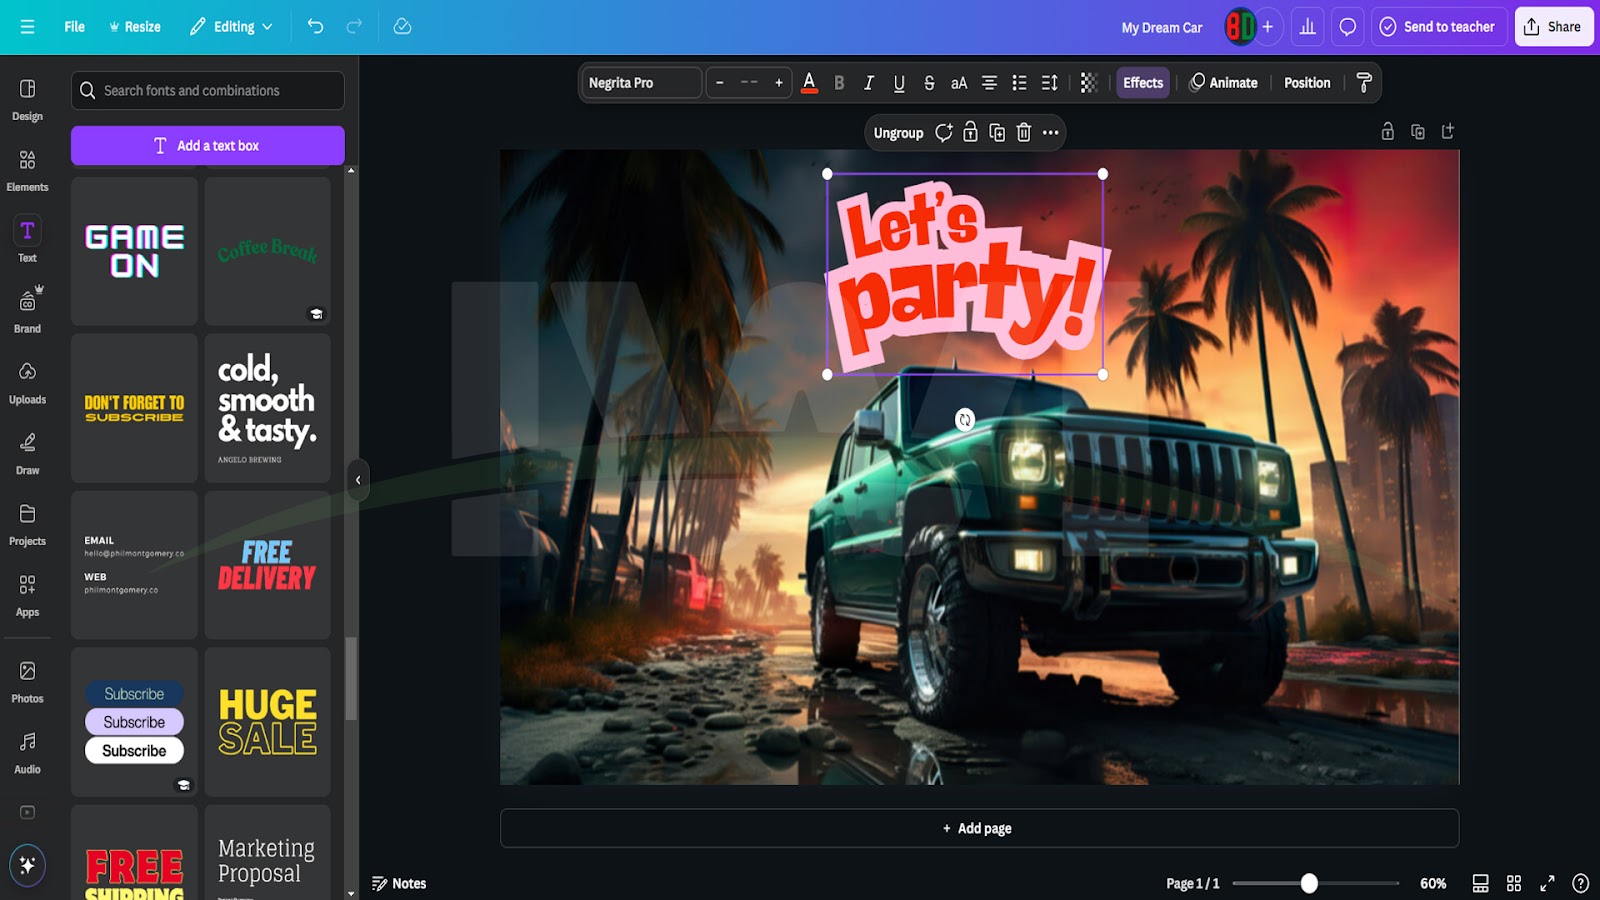
Adding Text and Logos
One of the best features of Canva is its ability to add text and logos to your product photos. Whether you want to add the name of your product, a catchy slogan, or your brand logo, Canva makes this process seamless. Click on the “Text” tab on the left sidebar and choose from a wide variety of font styles.
You can resize, adjust the color, and position the text anywhere on your image. Adding a logo is just as easy—upload your logo and place it in a corner or anywhere it fits well with your design. This step is essential if you want to create a branded product image for your website or social media.
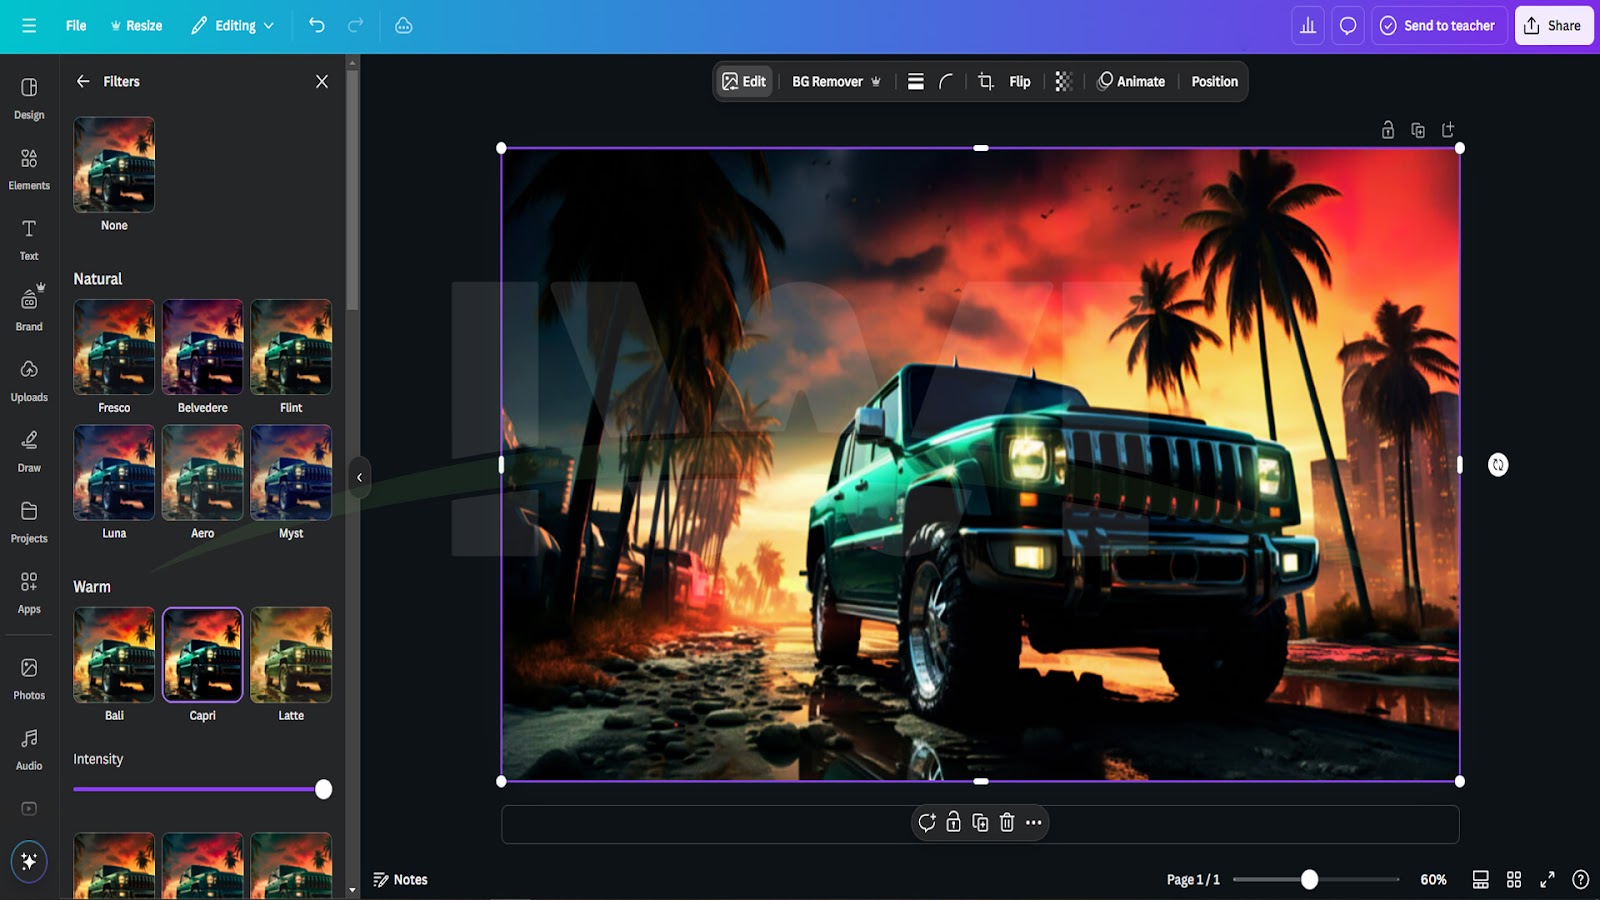
Adding Filters and Effects
Canva offers a variety of filters and effects that can give your product photos a professional look. To apply a filter, simply click on your image and select “Filter” from the toolbar. Canva provides various preset filters that can adjust the tone and mood of your image, such as “Retro,” “Black & White,” or “Brighten.”
Additionally, if you want to add a creative touch, you can use the “Effects” option to apply artistic effects like “Pixelate,” “Glitch,” or “Duotone.” These filters can be great for making your photos stand out on social media or for special promotions.
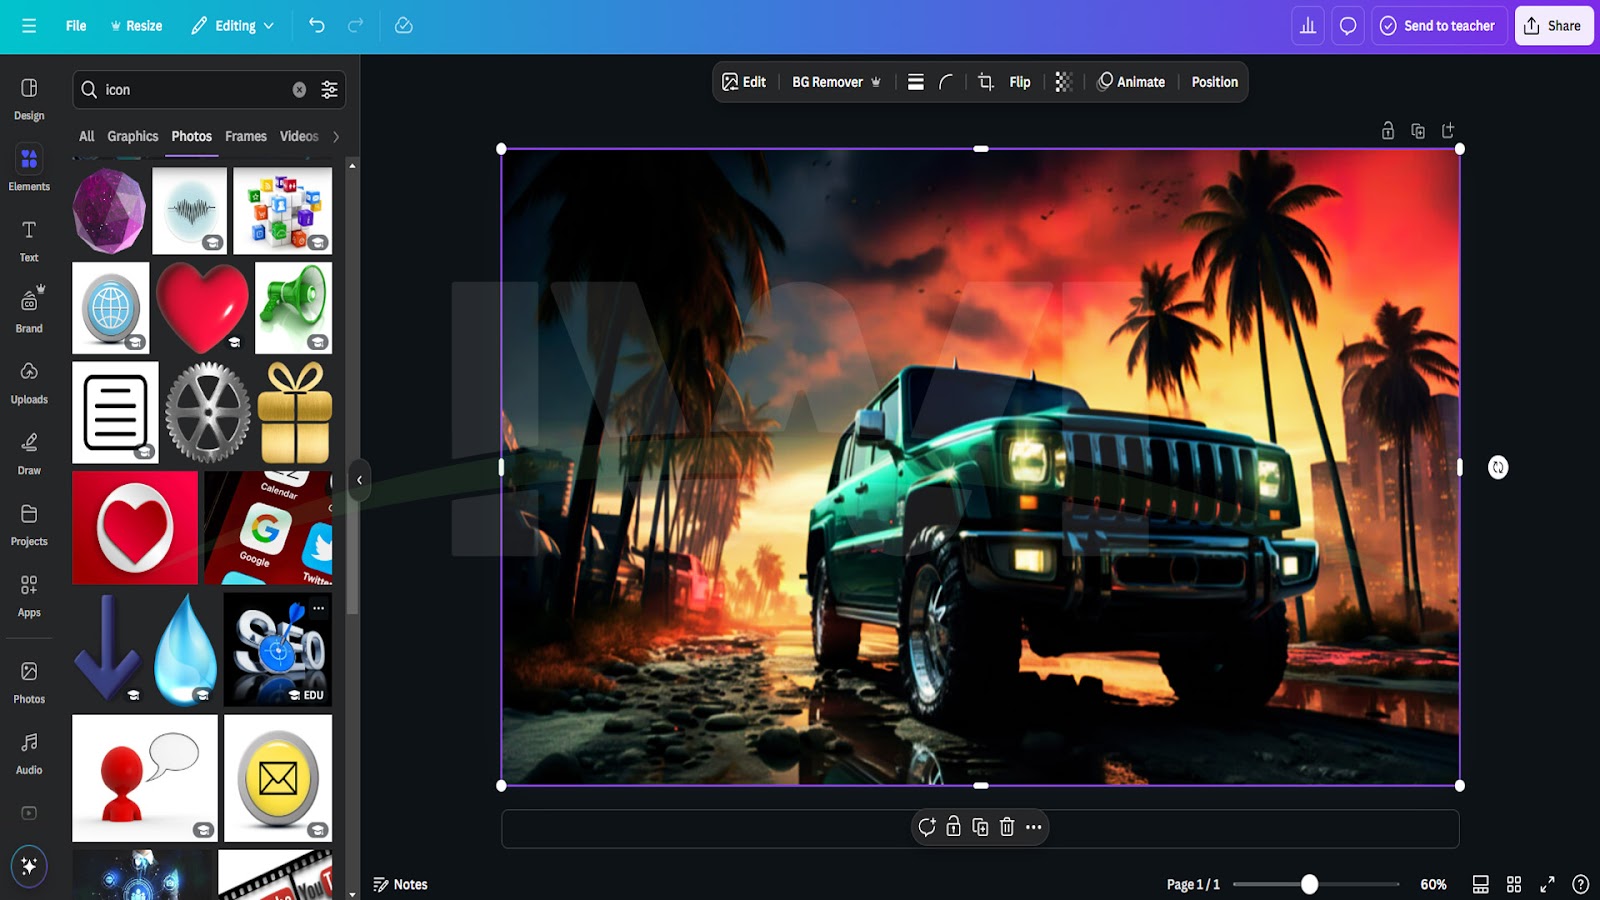
Using Canva’s Elements and Icons
If you’re aiming to add some extra design elements, Canva has a wide variety of icons, shapes, and stickers that you can place over your product photos. Whether it’s a decorative border, an arrow pointing to your product, or an icon that emphasizes the benefits of your product, you can find many design elements in the “Elements” section.
You can drag and drop these elements directly onto your product photo, resize them, and position them wherever you like. Just make sure the elements enhance your product and don’t distract from it.
How to Edit Product Photos in Canva: Final Touches
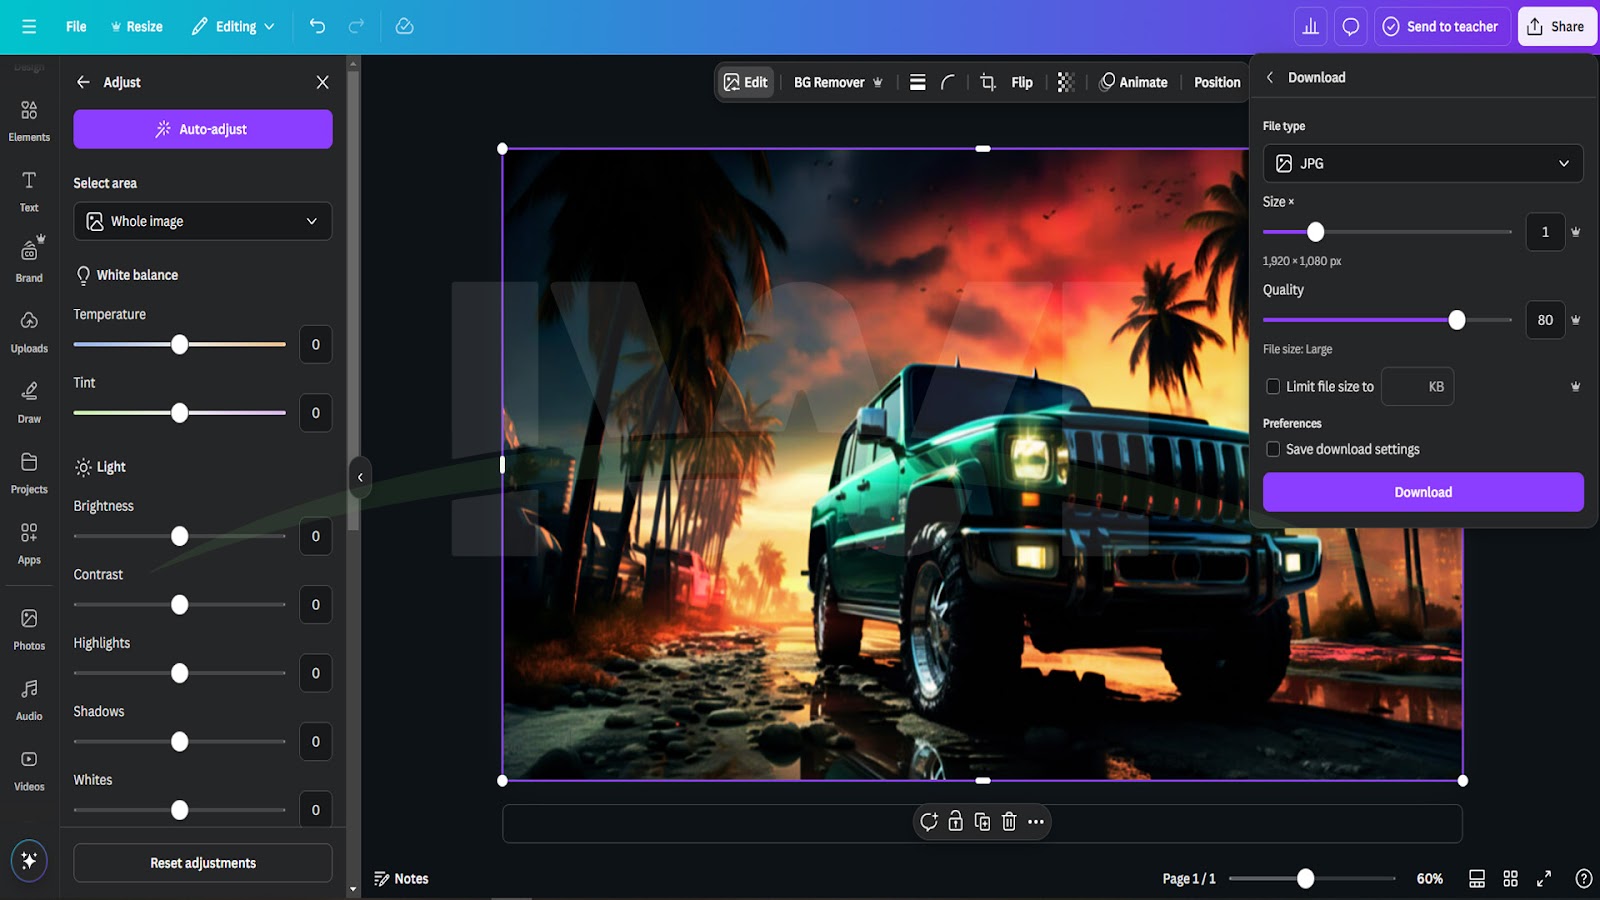
Once you’ve made the necessary edits to your product photo, it’s time for the final touches. You’ll want to check the alignment of your product and any added text or design elements. Canva has a smart grid system that helps you center and align your design automatically, making sure everything looks polished.
Finally, after you’re satisfied with your photo, click on the “Download” button at the top right of the screen. Canva will give you the option to download your photo in various formats such as PNG, JPG, or PDF. Choose the format that works best for your needs and save it to your device.
Conclusion
Editing product photos in Canva is a simple and effective way to create stunning visuals that will help showcase your products in the best possible light. With its easy-to-use features, Canva is perfect for beginners who want to edit their photos without the need for complicated software. Now that you know how to edit product photos in Canva, you can take full advantage of this powerful tool to create professional-looking images that capture attention and drive sales. Happy designing!
Frequently Asked Questions (FAQs)
Can I edit product photos in Canva for free?
Yes, Canva offers a free version with many features that allow you to edit product photos effectively. However, some advanced tools, such as the Background Remover, are only available with a Canva Pro subscription. The free version still offers plenty of tools for basic edits, including cropping, adjusting brightness, adding text, and more.
How do I remove the background of my product photo in Canva?
To remove the background of a product photo in Canva, click on the image, select the “Effects” option from the toolbar, and then click on “Background Remover.” Canva will automatically remove the background. If you have a Canva Pro account, you can access this tool.
What file formats can I download my edited product photo in?
Canva allows you to download your edited product photo in several formats, including PNG, JPG, and PDF. PNG is best for high-quality images, especially if you need a transparent background, while JPG is suitable for web use with smaller file sizes.
Can I add my logo to product photos in Canva?
Yes! Canva makes it easy to upload and place your logo on your product photos. Simply upload your logo to Canva and drag it onto your photo. You can resize it, position it, and adjust its transparency to create a professional and branded look.
How can I make my product photos look more professional in Canva?
To make your product photos look more professional, focus on editing the image’s brightness, contrast, and saturation. Use Canvas Background Remover tool for a clean, white backdrop, and consider adding text or your logo to enhance branding. Filters and effects can also be used to make the image more visually appealing.
Is Canva suitable for product photography editing for an online store?
Absolutely! Canva is perfect for editing product photos for online stores. Whether you’re selling on Shopify, Etsy, or another platform, Canva allows you to create professional-looking product images that stand out. You can remove backgrounds, add descriptions or prices, and ensure your photos have a consistent and polished look.