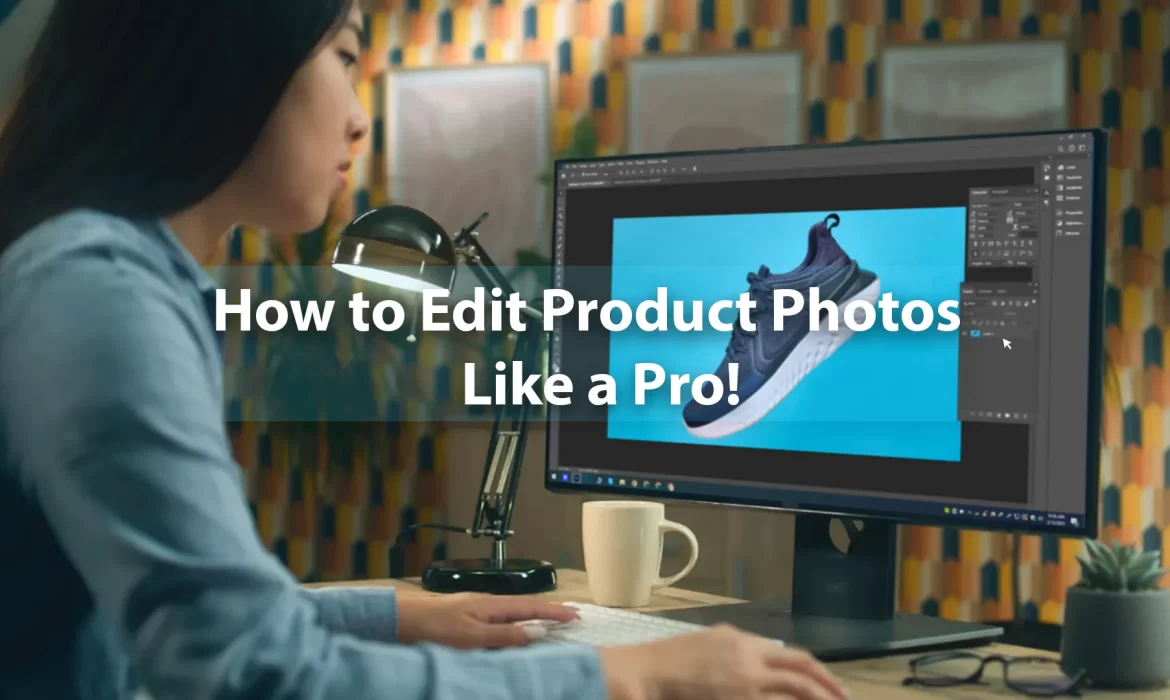
Have you ever looked at a product photo and wondered how it looks so polished and professional? It’s not magic—it’s the result of careful editing. If you’re selling products online, mastering how to edit product photos can make a huge difference in attracting customers and boosting sales. In this guide, we’ll take you step by step through the process, showing you how to edit product photos like a pro and giving you insider tips to make your images stand out. Whether you’re a beginner or have some editing experience, this guide will equip you with the skills you need to enhance your photos and take them to the next level.
Why Product Photos Matter
Contents [Show]
Before diving into how to edit product photos, it’s important to understand why they matter so much. In today’s digital age, first impressions count, and your product photos are often the first thing potential customers will see. High-quality, well-edited product photos can increase trust, highlight the features of your product, and ultimately influence purchasing decisions. On the flip side, poor-quality photos can turn customers away and hurt your brand’s reputation.
To get the most out of your product images, learning how to edit product photos properly is key. This guide will help you do just that.

Getting Started: Tools You’ll Need to Edit Product Photos
Before we dive into the editing techniques, it’s important to understand the tools available to you. There are many photo editing software options out there, but some of the most popular choices for product photography editing include:
Adobe Photoshop: Known as the industry standard, Photoshop offers a wide range of powerful tools to edit product photos. However, it comes with a learning curve and requires a subscription.
Lightroom: If you need simpler edits and color corrections, Lightroom is a fantastic choice. It’s also great for organizing and managing large batches of photos.
Canva: For beginners or those on a budget, Canva provides an easy-to-use platform with plenty of templates and editing tools to adjust brightness, contrast, and saturation.
GIMP: A free alternative to Photoshop, GIMP offers a variety of features for more advanced editing, but it can be challenging to learn at first.
Once you’ve chosen your software, it’s time to learn how to edit product photos to get the best results.

Step 1: Start with a Clean Image
The first step in learning how to edit product photos is ensuring that you start with a clean, high-quality image. This means your product should be properly lit and captured in a way that shows it in the best possible light. Ideally, you should shoot in a well-lit space or use a lightbox to eliminate shadows and harsh lighting. Avoid busy backgrounds or distracting elements that could take away from the product itself.
If you’ve already taken your product photos and they’re a bit rough around the edges, don’t worry. Editing can still improve their quality significantly.

Step 2: Crop and Straighten Your Image
One of the simplest edits you can make when learning how to edit product photos is cropping. Cropping helps to eliminate any unnecessary space around the product and focus attention solely on it. Make sure to follow the rule of thirds or use your software’s crop tools to create a balanced composition.
In addition to cropping, you may need to straighten your photo if your product looks off-center or tilted. Most photo editing programs have automatic straighten tools that can help you align the image perfectly.

Step 3: Adjust Exposure and Brightness
Getting the exposure and brightness right is crucial when you’re learning how to edit product photos. Exposure refers to how light or dark your photo is, and adjusting it can make your product look more vibrant and true to life.
If your product looks too dark, try increasing the exposure or brightness. On the other hand, if the photo is too bright, you might want to decrease the exposure or add contrast to bring out the details. A good rule of thumb is to adjust the exposure so that the product is clearly visible but not washed out.

Step 4: White Balance and Color Correction
Proper white balance is essential when learning how to edit product photos, as it ensures that the colors in your image are accurate and true to the product. If your photo has a yellow or blue tint, it can make your product look unnatural. Most photo editing software has a white balance tool that lets you adjust the temperature and tint of your image.
Once you’ve set the white balance, take a look at the colors in your image. Sometimes, product photos can appear overly saturated or lack vibrancy. Use the saturation, vibrance, and hue tools to fine-tune the colors so that they match the real-life product as closely as possible. Remember, the goal is to make the product look appealing while staying true to its actual appearance.

Step 5: Remove Imperfections and Blemishes
If your product image has distracting elements, such as dust particles, smudges, or background clutter, removing them can make a huge difference. Most editing programs allow you to use tools like the healing brush or clone stamp to erase imperfections.
For instance, if you’re editing a clothing product and there’s a small stain or wrinkle, you can use these tools to clean up the image and present a flawless product. If you’re selling jewelry or cosmetics, it’s important to remove any unwanted reflections or background objects to keep the focus solely on the product.

Step 6: Sharpening and Detailing
When you’re learning how to edit product photos like a pro, sharpening is an important step to ensure your product looks crisp and detailed. Depending on the product type, you may want to sharpen the edges to make them stand out more.
However, be careful not to overdo it. Too much sharpening can create a harsh or artificial look, especially for smoother surfaces. Use the sharpening tool sparingly, and zoom in to check how it affects the details in your photo.

Step 7: Background Removal or Replacement
One of the most common edits in product photography is background removal. A clean, white background is often ideal for online product listings because it makes the product stand out. Fortunately, many editing tools have automatic background removal features. If you’re editing your photos manually, you can use the selection tools to carefully outline your product and remove the background.
Once the background is removed, you can replace it with a solid color, gradient, or even a lifestyle image that matches your brand. Just be sure that the new background complements the product and doesn’t distract from it.

Step 8: Final Touches: Adding Shadows or Reflections
If you’re aiming for a high-end look, you may want to add a shadow or reflection underneath the product. Adding a shadow gives the product depth and makes it appear more three-dimensional, as if it’s sitting on a surface. A subtle reflection can also create a professional, polished look.
Be careful not to overdo these effects, as they should enhance the product’s appearance, not overpower it. Keep the shadows and reflections soft and minimal to maintain a natural, professional feel.
Conclusion
Learning how to edit product photos like a pro can significantly enhance your online presence and improve your sales. By following the steps outlined in this guide, you can transform your product images into eye-catching photos that showcase your items in the best light possible. Remember, practice makes perfect, so take the time to experiment with different editing techniques and find the style that works best for your products. With the right tools and skills, you’ll be able to create professional-quality product photos that stand out and attract customers.
Frequently Asked Questions (FAQs)
What is the best app for editing product photos?
The best app for editing product photos depends on your needs and experience level. Adobe Photoshop and Lightroom are popular choices for professionals, while Canva is great for beginners or those who need simple edits. GIMP is a free alternative that also offers advanced features.
How can I make my product photos look professional?
To make your product photos look professional, focus on lighting, composition, and editing. Start by shooting in a well-lit environment, keep the background simple, and edit the photos to adjust exposure, white balance, and remove imperfections.
Can I edit product photos on my phone?
Yes, many photo editing apps like Snapseed, Lightroom Mobile, and Canva allow you to edit product photos directly on your phone. These apps offer a range of editing tools, such as cropping, color correction, and retouching.
How do I remove the background from product photos?
You can remove the background from product photos using software like Photoshop or free online tools like remove.bg. These tools use AI to detect the subject of the image and automatically remove the background, saving you time and effort.
How do I ensure my product photos are true to color?
To ensure your product photos are true to color, make sure your white balance is set correctly. You can also use a color calibration tool to adjust your monitor’s display to match real-world colors.
Should I use filters on product photos?
While filters can be fun for social media posts, it’s best to avoid using heavy filters on product photos, as they can alter the appearance of your product. Instead, focus on adjusting the exposure, contrast, and colors to make the product look its best without compromising its true appearance.


[…] you know how to edit product photos for Amazon, you ensure your images stand out in the crowded marketplace. Proper editing can […]
[…] diving into our picks for the best app to edit product photos, let’s first look at why it’s so important. In today’s digital age, high-quality product […]
[…] world, businesses need high-quality product images to attract customers and boost sales. But editing product photos manually is time-consuming, expensive, and requires advanced skills. This is where artificial […]
[…] edit product photos come in to save your day. With the right tools and techniques, you can batch edit product photos quickly and easily without losing quality. In this article, you will learn everything you need to […]