


In the world of e-commerce and digital marketing, the importance of high-quality product images cannot be overstated. An appealing and professionally edited product image can significantly impact a customer’s decision-making process. However, hiring a professional photo editor for every product may not always be feasible, especially for small businesses or individual sellers. That’s where DIY product image editing comes into play. In this guide, we’ll walk you through three essential steps to enhance your product images on a budget.
Introduction
Contents
Effective product image editing is more than just applying a filter; it’s about showcasing your products in the best light possible. Whether you’re selling handmade crafts, clothing, or digital products, the right editing can make a world of difference in attracting potential customers. Let’s dive into the essential steps for DIY product image editing.
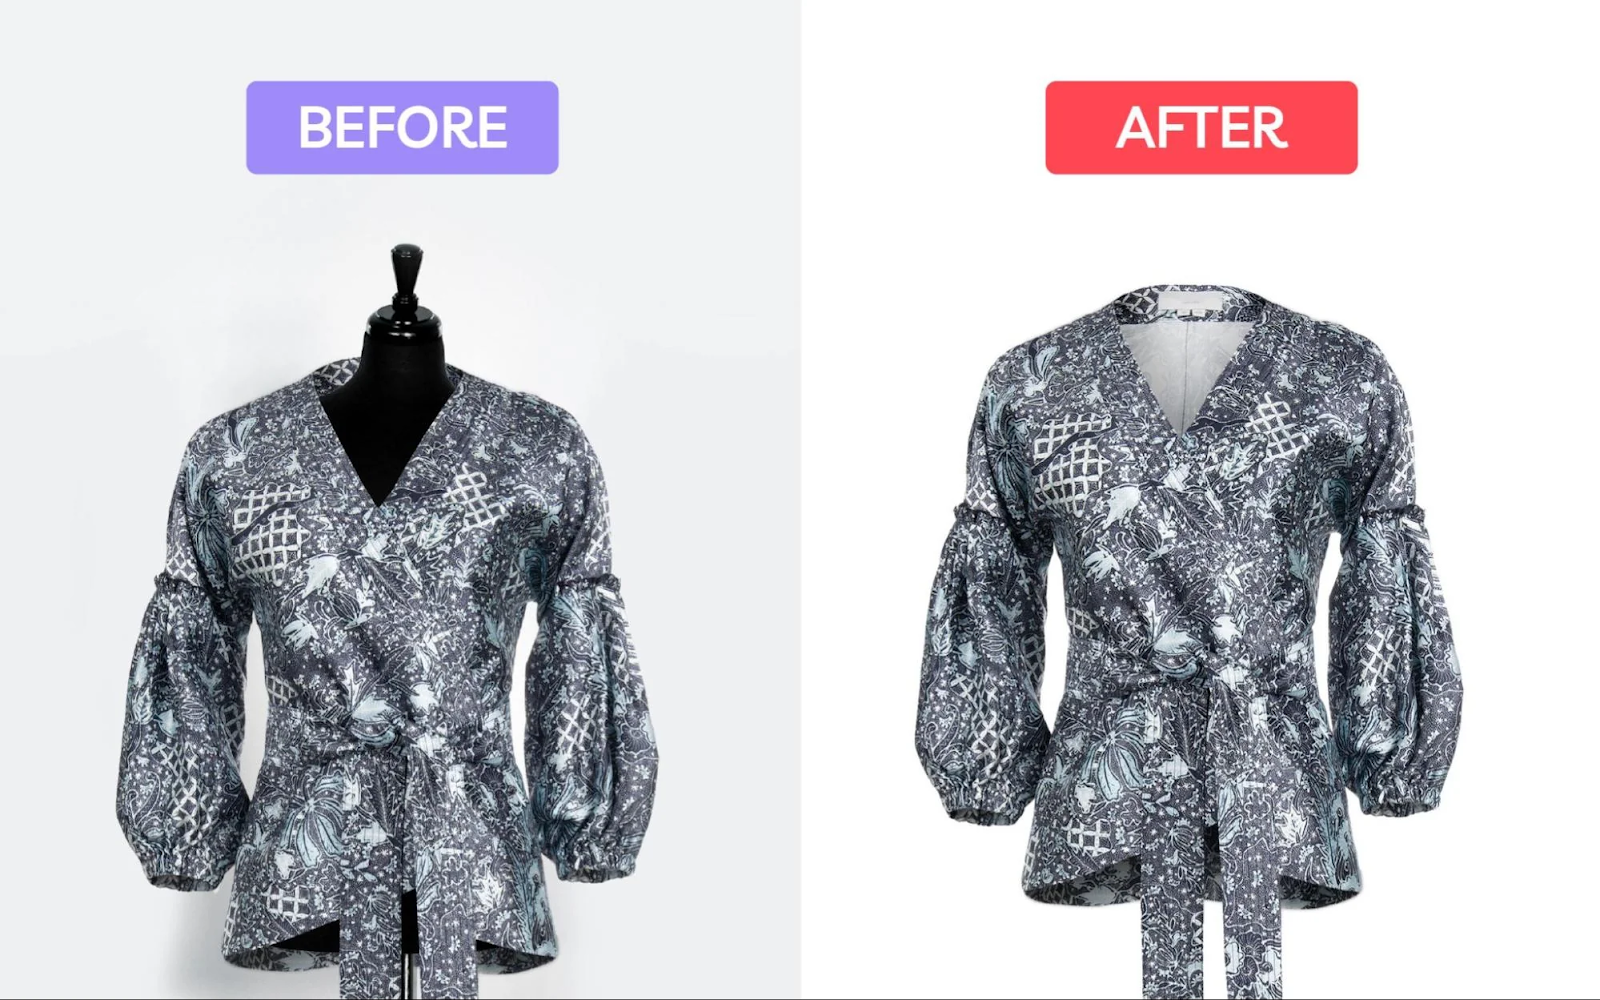
1. Background Removal and Cleanup
Why is it important?
The background of your product image sets the stage for your item. A cluttered or distracting background can take the focus away from the product itself. By removing the background and cleaning up the image, you create a professional and polished look that draws attention to what matters most – your product.
How to do it?
Use a Background Removal Tool:
There are various online tools like remove.bg or Canva that allow you to quickly remove the background from your product images. Upload the photo, and the tool will automatically detect and remove the background.
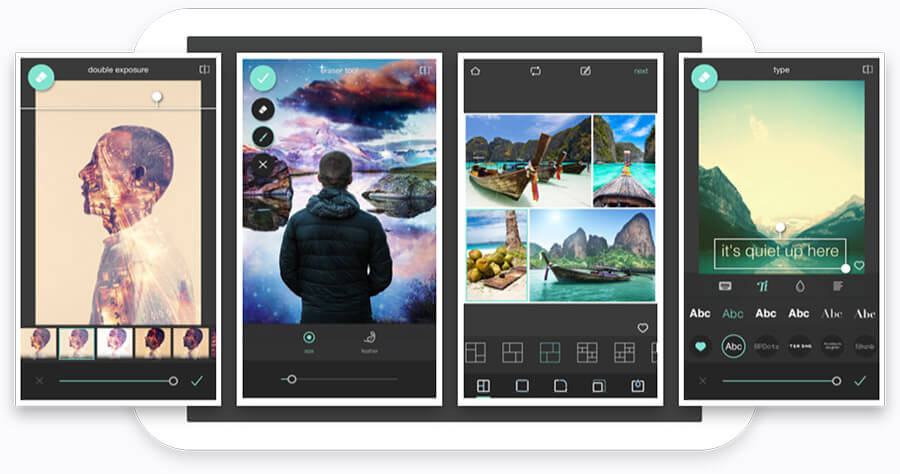
Manual Cleanup:
For more intricate details or challenging backgrounds, use photo editing software like GIMP or Photoshop. Use the eraser tool or the pen tool to carefully remove the background, ensuring clean edges around your product.
Consider a Transparent Background:
Save your image with a transparent background (PNG format) if you plan to showcase your product on different platforms. This allows for seamless integration into various backgrounds.

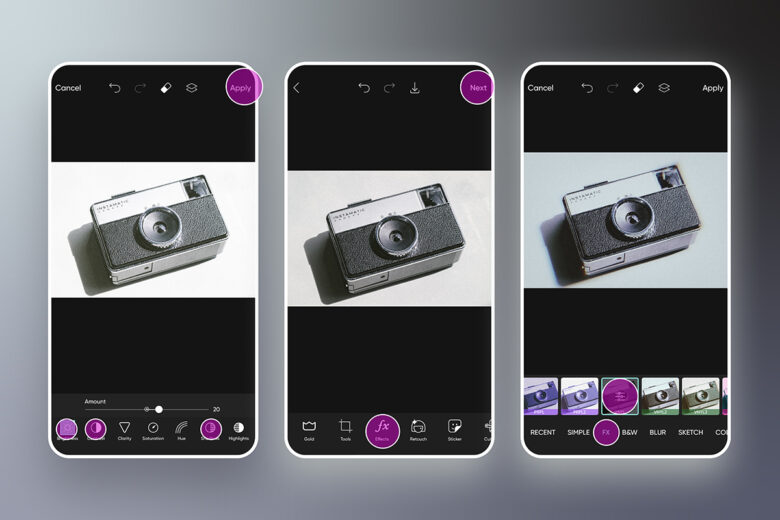
2. Color Correction and Enhancement
Why is it important?
Colors play a crucial role in conveying the look and feel of your product. Correcting and enhancing the colors in your images ensures that customers see an accurate representation of what you’re offering. It builds trust and helps manage expectations.
How to do it?
Adjust White Balance:
Use the white balance tool to correct any color tints in your image. This ensures that whites appear truly white, providing a more realistic representation of your product.
Enhance Saturation and Contrast:
Boosting saturation and contrast can make colors pop, giving your product a vibrant and eye-catching appearance. However, be mindful not to overdo it, as natural-looking colors are essential.
Focus on Product Details:
Zoom in and pay attention to small details. Enhance the color and sharpness of your product, ensuring that intricate features are clearly visible.

3. Resizing and Optimization
Why is it important?
Different online platforms and devices require images of varying sizes and resolutions. Resizing and optimizing your product images not only ensure compatibility but also contribute to faster loading times on your website or online store.
How to do it?
Choose the Right Dimensions:
Determine the ideal image dimensions for the platform where you’ll be showcasing your product. E-commerce platforms often have specific recommendations.
Compress Images:
Use image compression tools to reduce file sizes without compromising quality. This is crucial for faster website loading, especially on mobile devices.
Save in the Right Format:
Save your images in web-friendly formats like JPEG for photographs and PNG for images with transparency. This ensures compatibility across different platforms.

Conclusion
DIY product image editing doesn’t have to be intimidating. By following these three essential steps – background removal and cleanup, color correction and enhancement, and resizing and optimization – you can elevate your product images without breaking the bank. Take the time to experiment, refine your skills, and watch as your enhanced product images contribute to a more compelling and successful online presence.
Ready to make your products stand out? Start editing your images today and witness the positive impact on your online store or business.
FAQs
Can I use free online tools for background removal?
Absolutely! There are several reliable free tools like remove.bg or Canva that offer easy and effective background removal.
What is the ideal file format for product images?
JPEG is commonly used for photographs, while PNG is suitable for images with transparency, providing flexibility for different online platforms.
Do I need professional software for color correction?
While professional software like Photoshop offers advanced features, there are also user-friendly free tools like GIMP that can effectively handle color correction for DIY editors.
How can I ensure my product images load quickly on my website?
Resize and compress your images before uploading them to your website. This reduces file sizes, leading to faster loading times.
Is it necessary to edit every product image individually?
While individual editing provides a personalized touch, you can also create a consistent look by applying similar edits to products within the same category.